Configuring a WattBox IP Power Conditioner
Follow these steps to get the best value from a WattBox power conditioner.
Claim the WattBox in OvrC
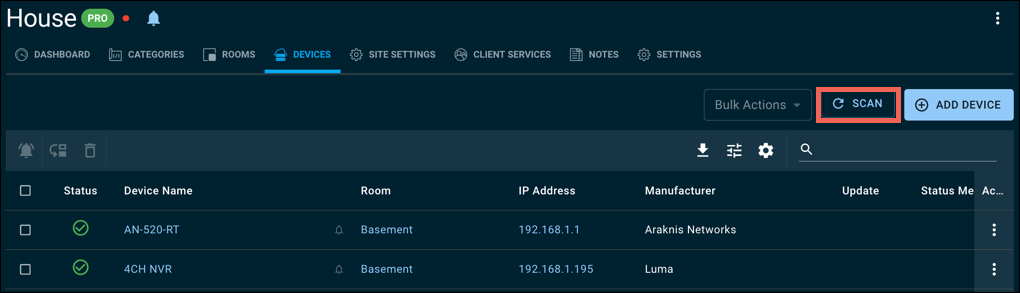
Once you've created a customer account, you can add new devices to it. If you are using OvrC Pro, it scans your network and automatically adds devices that if finds (unless they've already been claimed). You can start an OvrC Pro scan by clicking the Scan button at the top of the device list.
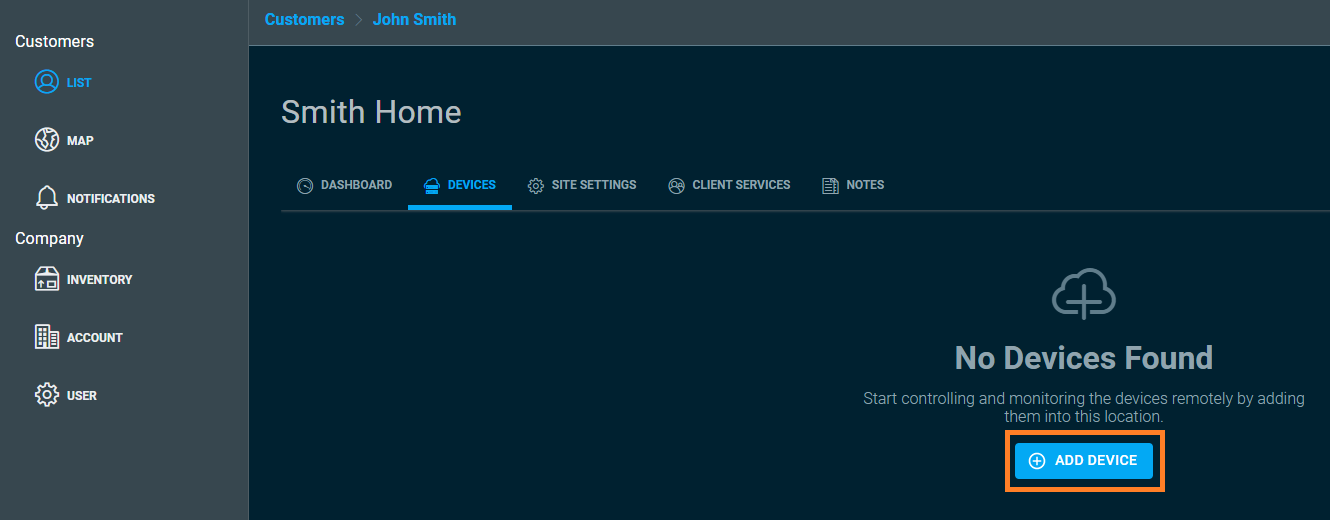
To add a device manually, follow the steps below:
-
Click the + Add Device button.
-
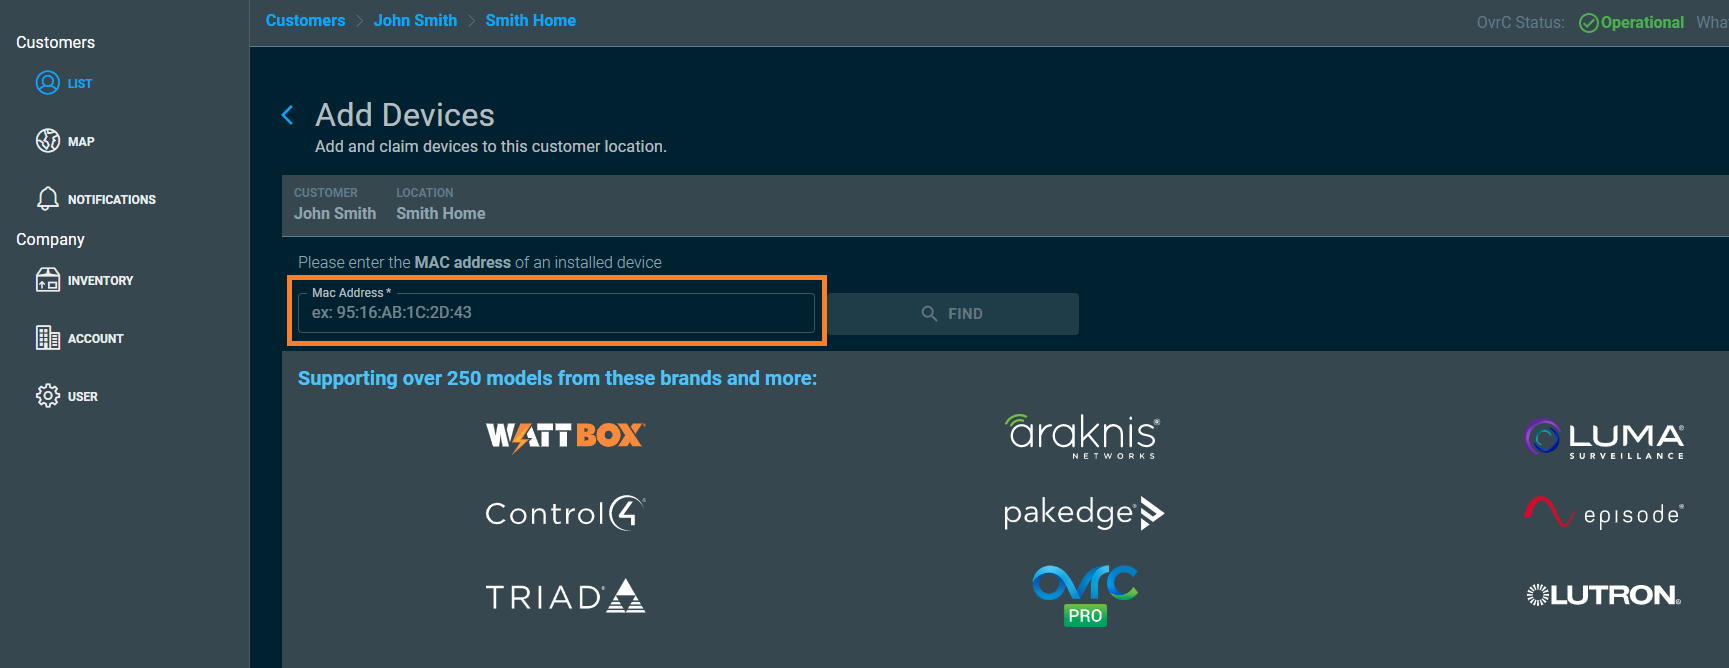
On the next page, enter the device's MAC address and click Find. For Snap One devices, you can find this on a sticker on the outside of the box.
-
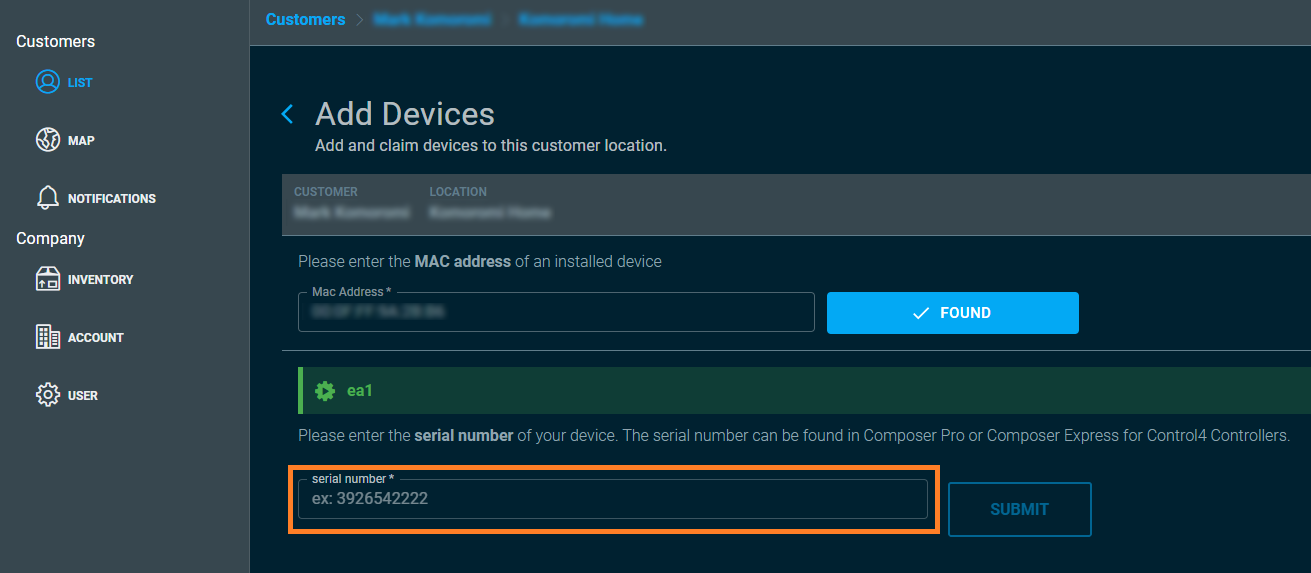
Enter the device's Serial Number and click Submit. For Snap One devices, you can find the serial number on a sticker on the outside of the box. This number commonly starts with "ST" and is sometimes referred to as a Service Tag.
-
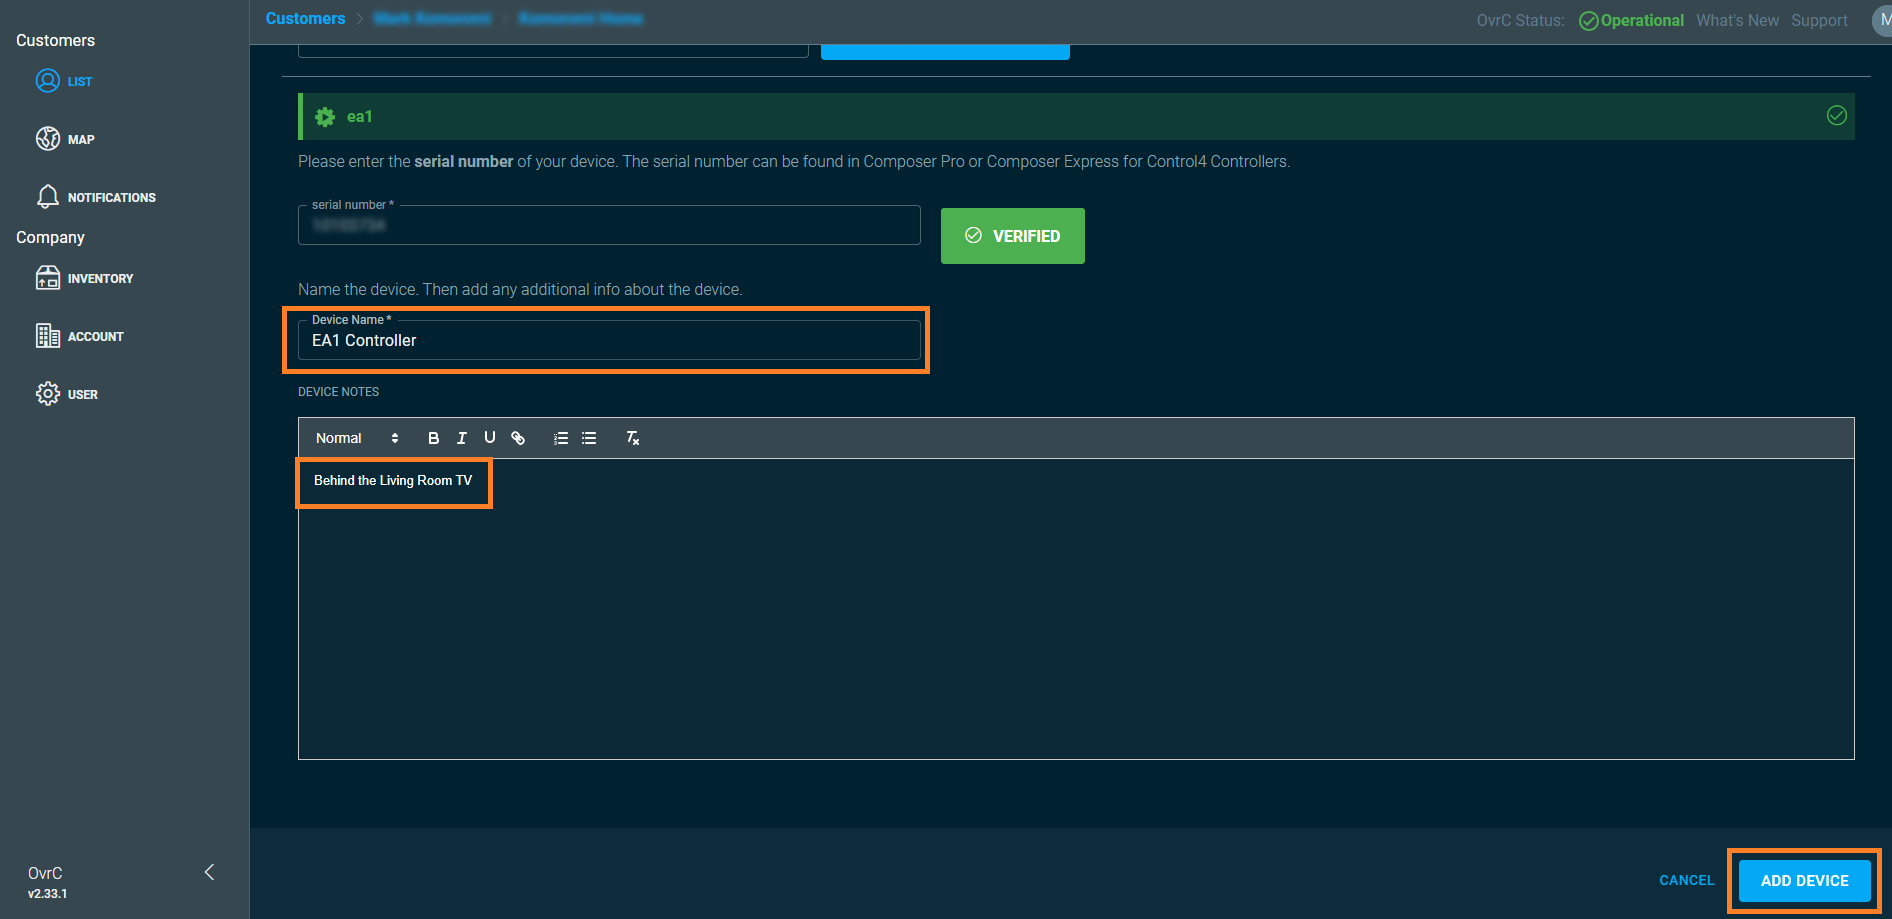
Enter a name for the device and add any helpful notes. Click Add Device to complete the process.
To add more devices, click the + Add Device button and repeat the steps above.
Configure the outlets
-
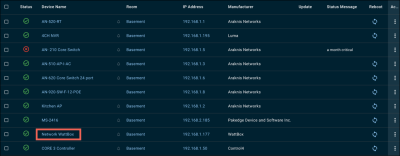
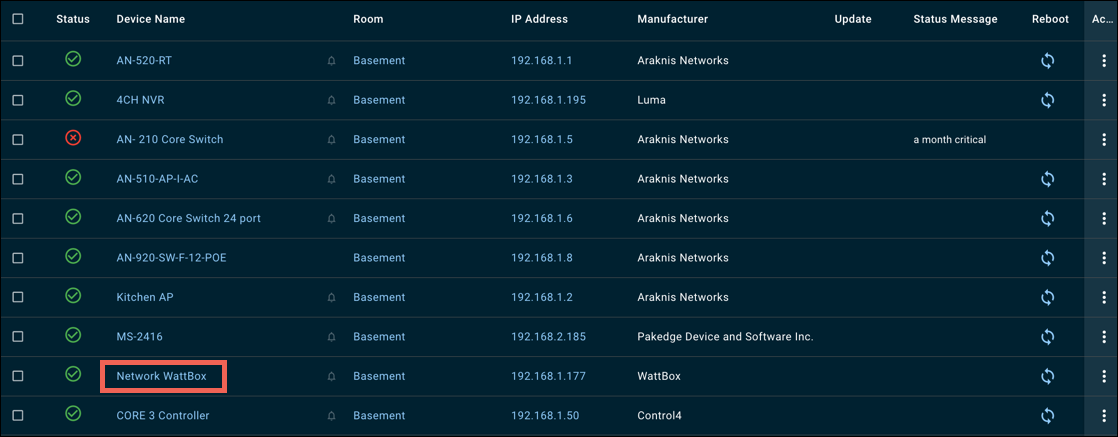
Click the WattBox from the device list.
-
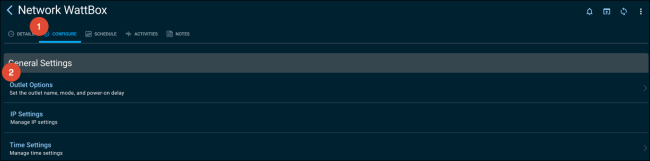
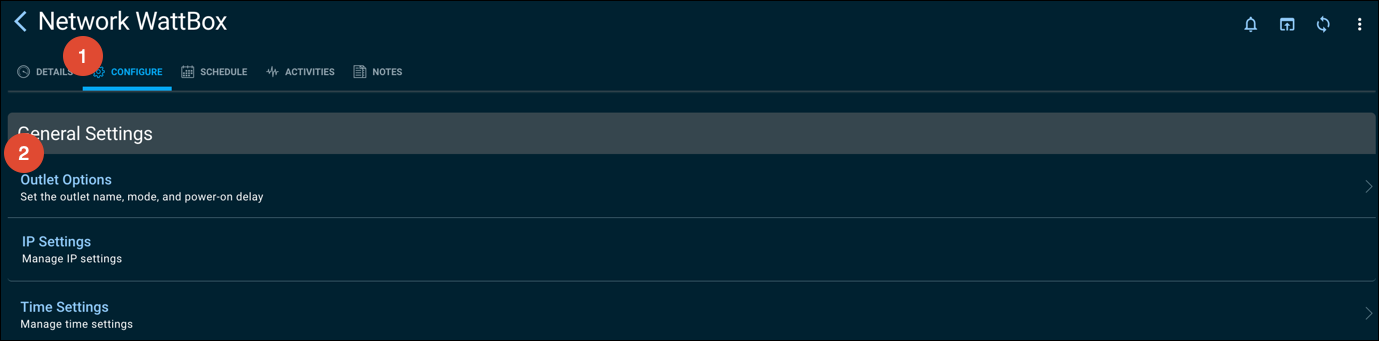
Click the Configure tab and select Outlet Options.
-
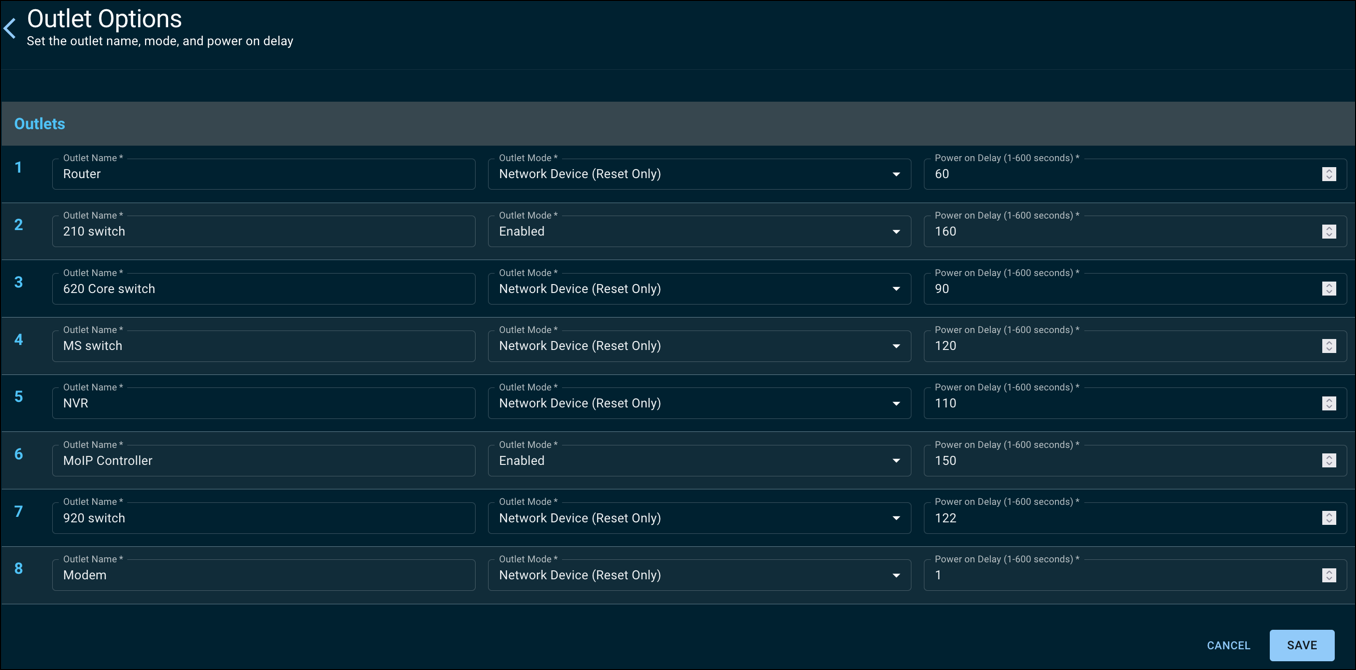
Name each outlet.
-
Set the Outlet Mode to on of the following:
-
Enabled
-
Disabled
-
Network Device (Reset Only)
Pro Tip: Set each network device to Network Device (Reset Only) to avoid accidentally powering off network critical devices.
-
-
Configure the Power On Delay for each outlet. A Power On Delay is the amount of seconds after WattBox startup before the outlet turns on.
Caution: For networking devices, the Power On Delay time should go in order of the network device's boot priority. Modem's should startup first, then routers, the core switch, then edge switches, then devices connected to the switch. Leave enough time between Power On Delays for the devices to fully boot before the next.
-
Click Save. Then click the arrow next to Outlet Options, at the top of the page.
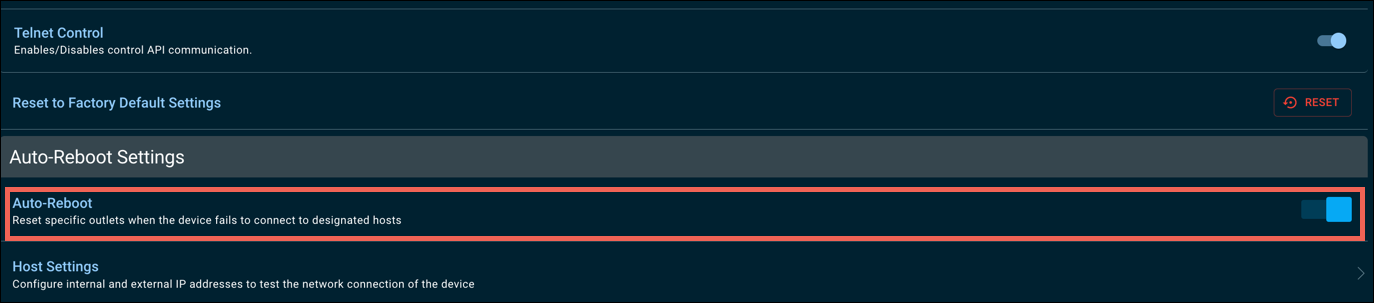
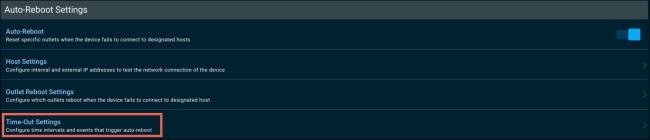
Configure self-healing Auto Reboot
-
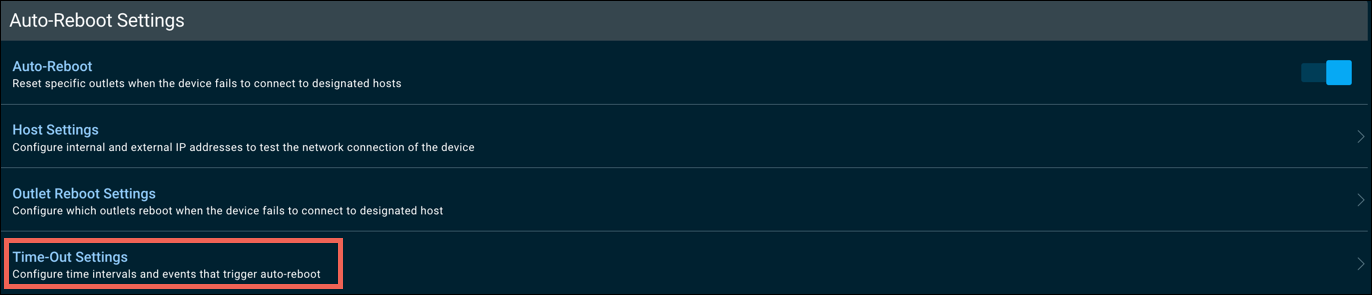
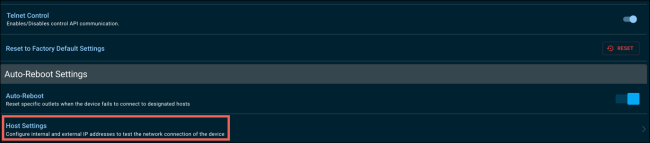
From the Configure tab, click the toggle to Enable Auto-Reboot.

-
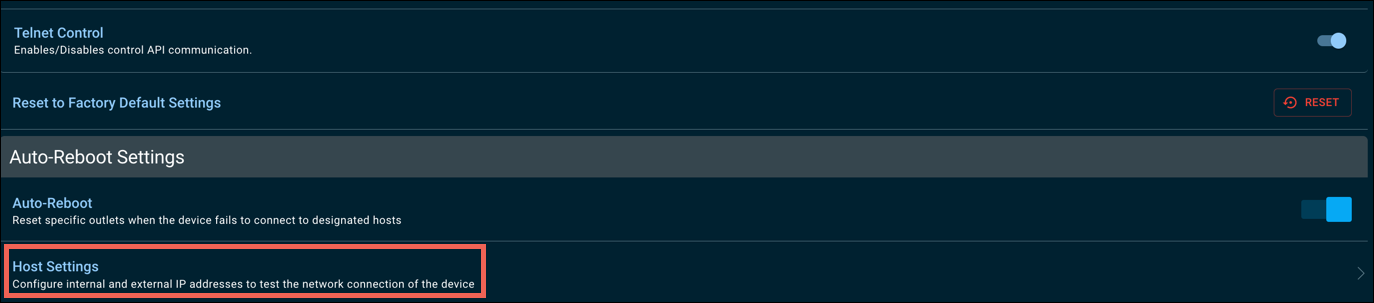
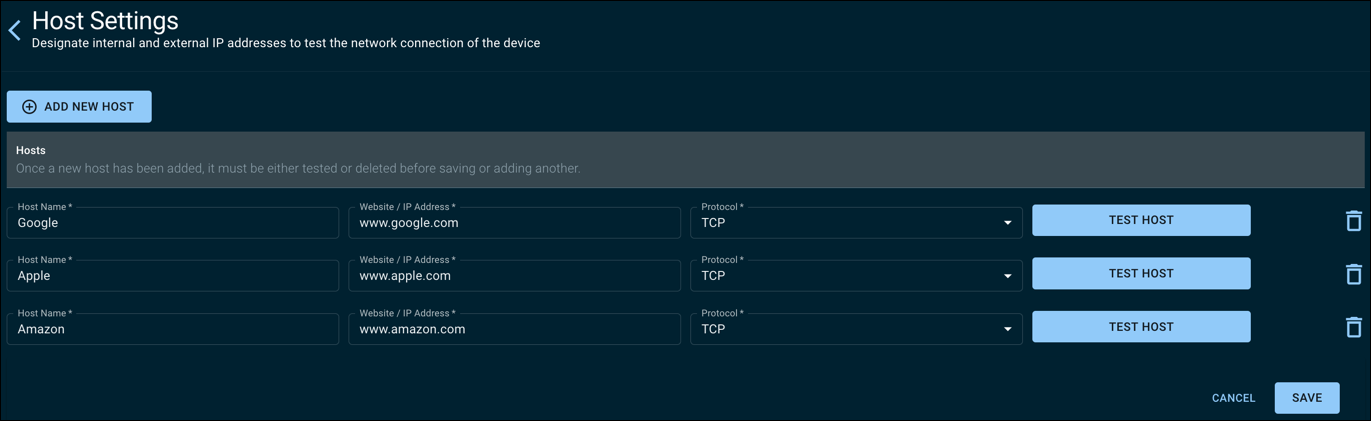
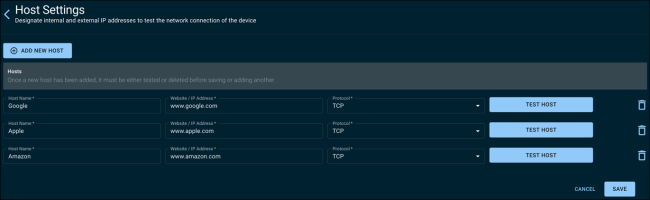
Click Host Settings. This page displays the URLs that the WattBox pings to verify the network is functioning. These fields can be edited. Click Add New Host to add a new URL.
-
Edit the Host Names so they are easily recognizable.
-
Click Save, then click the arrow next to Host Settings, at the top of the page.
-
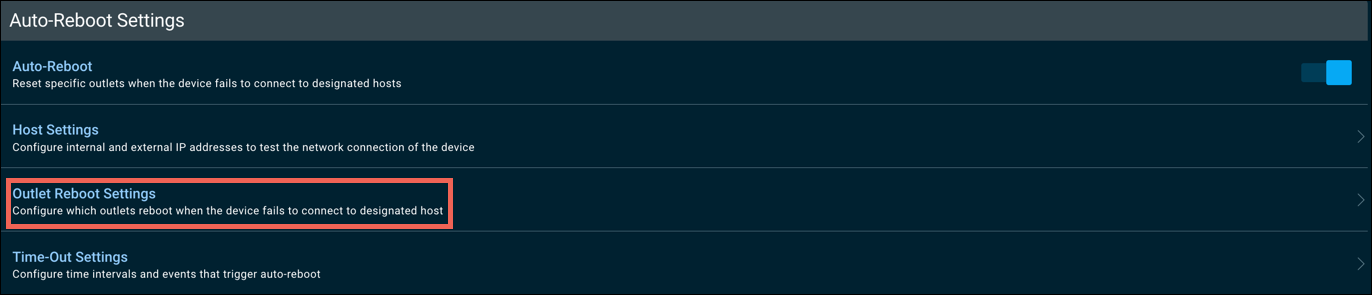
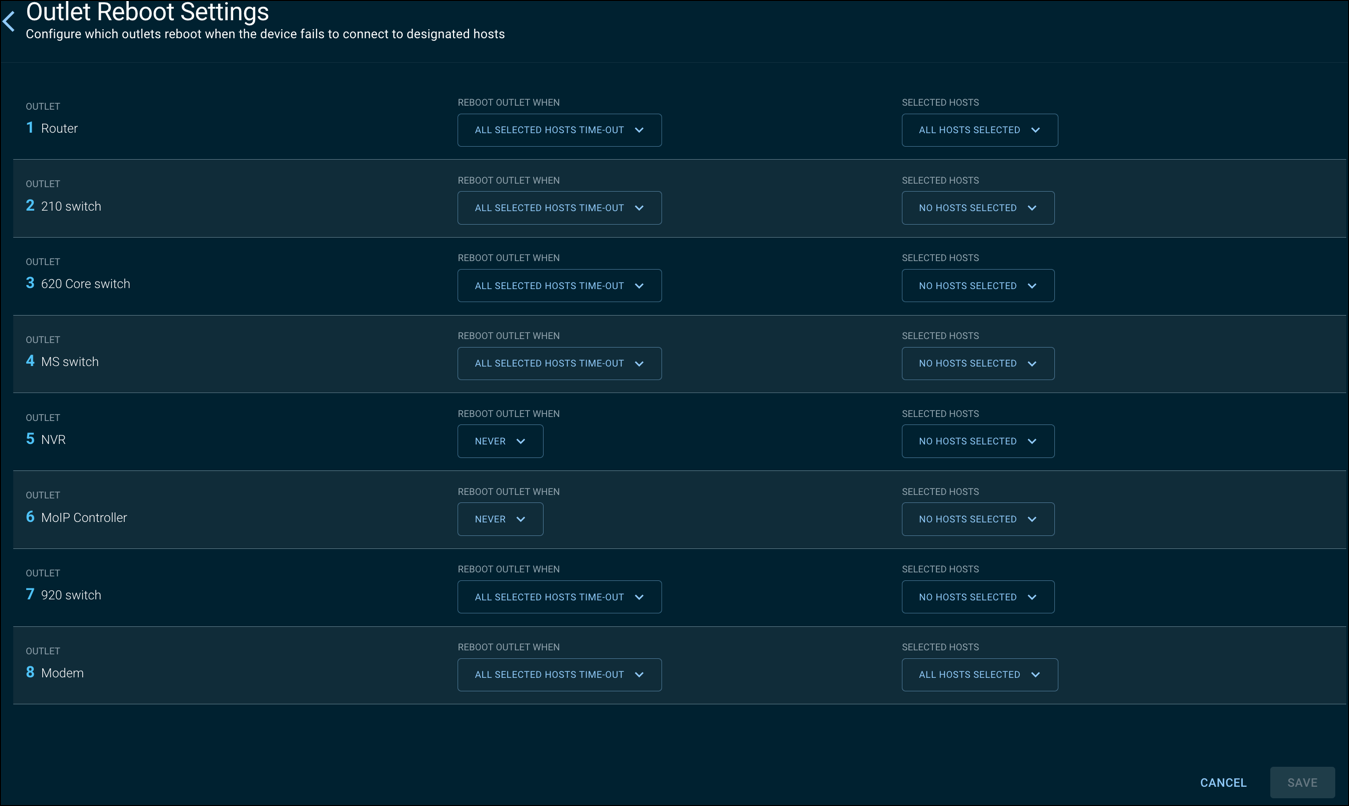
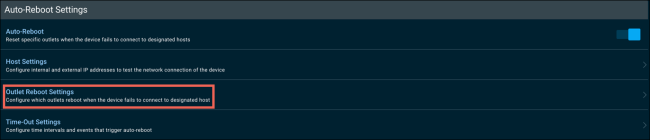
Click Outlet Reboot Settings.
-
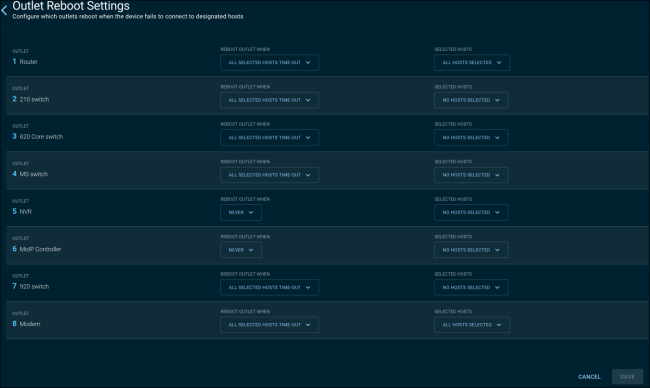
Use the Reboot Outlet When drop-down for each outlet to select when it should Auto Reboot. The options are:
-
Never
-
Any selected hosts time-out
-
All selected hosts time-out
-
-
Use the Selected Hosts drop-down to select a combination of host time outs that trigger the reboot—all of them, or specific hosts.
-
Click Save. Then click the arrow next to Outlet Reboot Settings, at the top of the page.
-
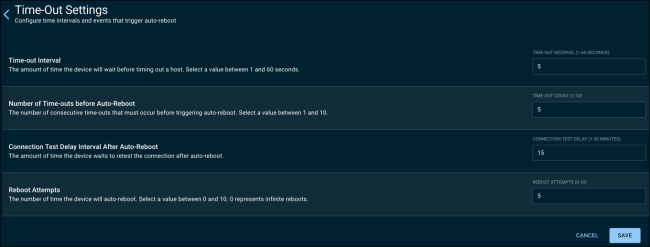
Click Time-Out Settings.
-
Enter a Time-out Interval. This is the amount of seconds that a host response has to be unresponsive before the WattBox considers it a time out.
Pro Tip: Don't set this amount of time too low to avoid an Auto Reboot that is too sensitive. This can cause insignificant network interrupts to restart the entire network, leading to more downtime.
-
Enter the Number of Time-outs before Auto Reboot. This is the amount of time-outs that must occur before outlets Auto Reboot.
-
For the Connect Test Delay Interval After Auto-Reboot, enter the amount of minutes the WattBox waits to resume testing for timeouts after an Auto Reboot.
-
Enter the number of Reboot Attempts the WattBox makes before it stops auto-rebooting. The WattBox continues to test hosts if it reaches the maximum amount of Reboot Attempts.
-
Click Save.